REVIEW · 1-DAY TOURS
1 Day Pass LeaLea Trolley and Waikiki Trolley Pink Line
Book on Viator →Operated by LeaLea Tours · Bookable on Viator
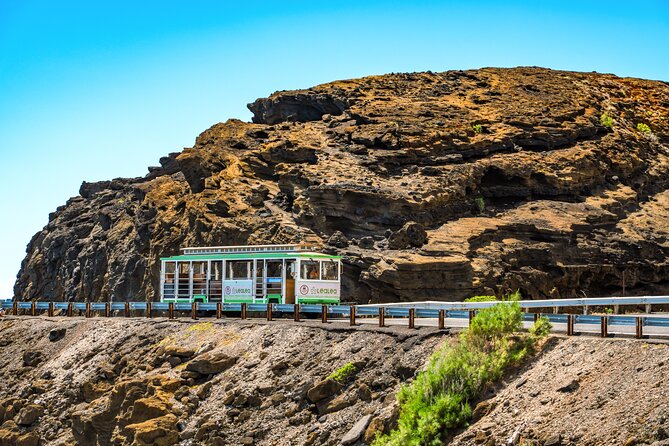
Sunset comes faster with the trolley plan. This LeaLea Trolley + Waikiki Trolley Pink Line pass is a simple way to stitch together major areas of Oahu without renting a car, and it’s set up for easy hop-on, hop-off touring. I like that the route connects Waikiki, Ala Moana, and Honolulu’s downtown sights in one day, so you’re not guessing which bus gets you close. I also like the built-in pacing, including planned photo stops at big hitters like Hanauma Bay and Halona Blowhole.
One watch-out: this is mostly a transportation pass, not an attraction package. It doesn’t include entry fees, and the “trolley” experience can feel more like frequent stops and transfers than a guided, story-filled ride—so bring a little patience, and have your next stop name ready.
In This Review
- Key Points at a Glance
- What This Pink Line + LeaLea Pass Gets You in a Day
- Price, Inclusions, and What Costs Extra
- Getting On: Royal Hawaiian Center and Other Main Stops
- Waikiki to Ala Moana: Beaches, Hotels, and a Clean Transfer Path
- Downtown Honolulu Sights: HoMA, Bishop Museum, Iolani Palace
- North & East Out of Waikiki: Kaimuki, Diamond Head, Kahala
- The Photo-Stop Pair: Hanauma Bay and Halona Blowhole
- Sea Life Park and the Koko-to-Hawaii Kai Stretch
- Practical Tips to Avoid the Usual Trolley Friction
- Who This Pass Suits Best (and Who Might Skip It)
- Should You Book the LeaLea + Waikiki Pink Line Pass?
- FAQ
- How much does the LeaLea Trolley and Waikiki Trolley Pink Line pass cost?
- How long does the experience take?
- What’s included in the price?
- Is admission to attractions included?
- What language is the tour offered in?
- What are the operating hours?
- Where does the route start and end?
- Can I get a refund if my plans change?
- Is the pass suitable for most visitors?
Key Points at a Glance
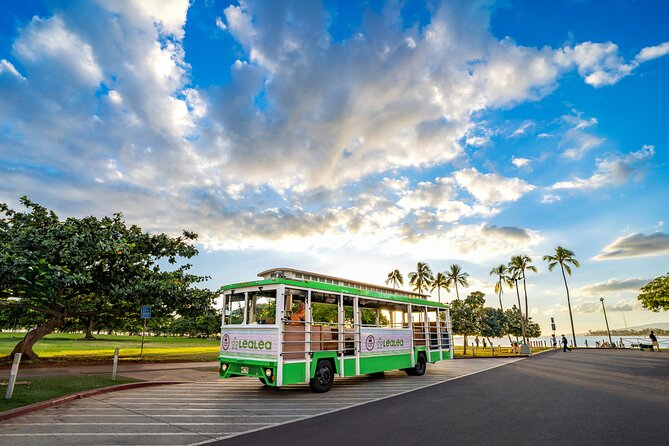
- A $35 trolley day pass that’s built for hopping between Waikiki, Ala Moana, and Honolulu sights.
- Major pickup hubs like Royal Hawaiian Center, Duke Paoa Kahanamoku Statue, and Hilton Hawaiian Village keep things straightforward.
- Photo stops are part of the plan, including Hanauma Bay and Halona Blowhole for quick sight checks.
- Downtown culture stops are on the route: Iolani Palace, Bishop Museum, and Izumo Taishakyo Mission of Hawaii.
- Price-to-flexibility is the value: you’re paying for transportation, while attractions are extra.
What This Pink Line + LeaLea Pass Gets You in a Day
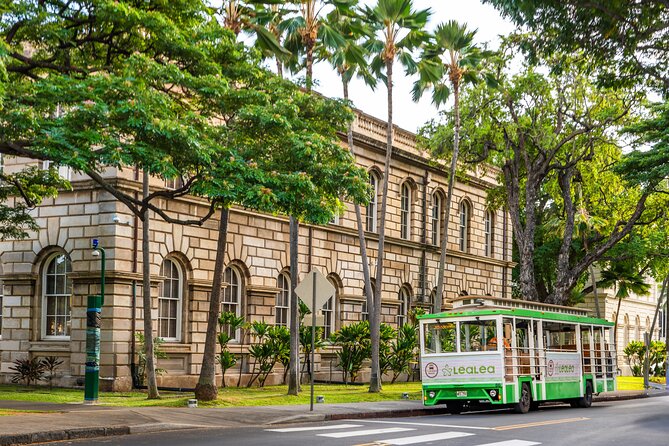
This is a trolley day pass focused on getting you around Oahu efficiently, with a route that fans out from Waikiki into wider Honolulu. The listed duration is about 3 hours (approx.), which is a good planning number for riding, hopping, and doing quick stops along the way. Since it’s a day pass, the spirit is flexibility: you can aim for a handful of anchors rather than trying to do everything.
The best way to think about it: this tour helps you build a “greatest hits” route with minimal decision fatigue. You’ll see a lot of big-name areas because the pass touches classic Waikiki landmarks and then pushes toward Ala Moana and downtown.
Also, the language is English, and the operating hours run 8:00 AM to 5:00 PM daily. That means you can start early, avoid the mid-day rush, and still have time left for beaches, dinner, or an evening stroll in Waikiki.
You can also read our reviews of more tours and experiences in Oahu

Price, Inclusions, and What Costs Extra
At $35.00 per person, you’re paying for the transit component—nothing more. The pass includes only the trolley pass, and does not include any admission or entrance fees. That matters because some of the stops on the route include places that may charge entry (museums, gardens, cultural sites, and similar attractions).
So here’s the value math I’d use: if you plan to ride multiple segments and skip renting a car, the pass can be a solid deal. But if your goal is mostly one paid attraction, you might compare it to just using local transit for the ride and saving money.
You should also consider how you’ll spend your time at stops. This pass works best when you treat stops as opportunities: grab a photo, take a short walk, or step into a nearby area where you can do things without expensive add-ons.
Getting On: Royal Hawaiian Center and Other Main Stops
The whole route is anchored with easy-to-find stops, especially around Waikiki. One of the most central starting points is Royal Hawaiian Center, and that’s where you’ll repeatedly see the route reference. From there, you can connect toward other key stops like Duke Paoa Kahanamoku Statue, The Twin Fin Hotel, Hotel La Croix, and Hilton Hawaiian Village Waikiki Beach Resort (Grand Islander 1F).
If you’re staying near Waikiki’s beachfront hotel zone, this is convenient. Those stops are clustered enough that you’re not trekking across town just to board.
Practical note: parking near Royal Hawaiian Center can be pricey. One common frustration is figuring out where to park before you even board. If you’re driving, I’d assume you’ll pay for parking and give yourself extra time to avoid arriving stressed and rushed.
Waikiki to Ala Moana: Beaches, Hotels, and a Clean Transfer Path
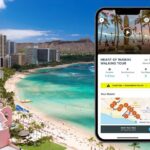
This is the part of the day that feels the most like Waikiki. You start near the Royal Hawaiian Center area, then the route touches the Duke Paoa Kahanamoku Statue—a classic Waikiki landmark—and continues through the hotel corridor.
Stops like Hilton Hawaiian Village Waikiki Beach Resort (Grand Islander 1F) are useful because they sit amid a dense cluster of restaurants and beach access points. If you’re trying to keep your day simple, you can hop off near hotels, walk a short loop, and get back on when you’re ready.
Then you move toward Ala Moana with stops including Ala Moana Honolulu by Mantra, Ala Moana Center, and even nearby commercial stops. Ala Moana is a great “reset” zone: it’s easier for food options, quick shopping, and a change of scenery from the beachfront crush.
One of the smartest ways to use this section is to time it around meals. Do a ride loop first, hop off for lunch or snacks, and then continue onward to downtown or beyond.
Downtown Honolulu Sights: HoMA, Bishop Museum, Iolani Palace
When the route turns toward downtown, it shifts from beachy Waikiki vibes to a more cultural Honolulu day. You’ll see stops like Honolulu Museum of Art (HoMA), Hawaii State Capitol, Foster Botanical Garden, and then major anchor hits such as Bishop Museum.
If you want a quick taste of the island’s story without over-planning, this is a strong stretch. Even if you don’t enter every paid venue, the area itself is worth a short walk: museums and gardens tend to be grouped in ways that make it easier to fit in a few stops with short transit legs.
You also pass through cultural and historical landmarks like Izumo Taishakyo Mission of Hawaii and Iolani Palace along with the King Kamehameha Statue. This gives you a “Honolulu skyline to history” arc in one day, and it’s a nice contrast if you’ve spent most of your time so far near the beach.
One more upside: downtown is where you can balance sightseeing with breaks. If your energy dips, you still have options for cafés and shaded walks near these sites.



North & East Out of Waikiki: Kaimuki, Diamond Head, Kahala
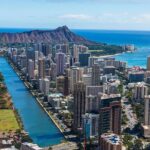
The pass also stretches beyond central Waikiki. You’ll hit areas like Kaimuki, plus spots around Diamond Head Crater and the broader Kahala side of Oahu. That means you can trade an extra beach day for panoramic viewpoints and neighborhood flavor—without the chore of driving.
You’ll see stops such as Kaimukī Community Park, Miro Kaimuki, Market City Shopping Center, and Safeway, which is useful because it’s where you can grab water, snacks, or a quick meal without hunting. For a trolley day, that matters. It’s one thing to sightsee; it’s another to still have sunscreen and something decent to eat.
Then there are viewpoint-adjacent stops like Diamond Head Rd + 18th Ave. Even if you don’t do a big hike, being near Diamond Head changes the feel of your trip. The air seems cooler and the city-to-coast perspective gets more dramatic.
The Photo-Stop Pair: Hanauma Bay and Halona Blowhole
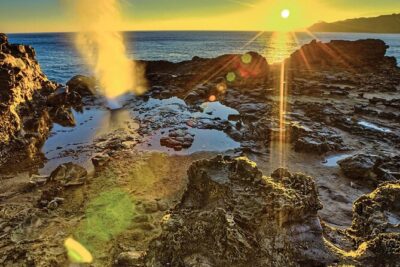
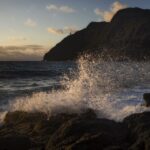
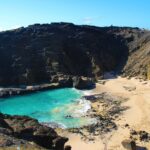
Two of the most memorable scheduled moments are the 15-minute photo stops at Hanauma Bay and Halona Blowhole Lookout. This is a smart inclusion if you want the wow factor without turning your day into a multi-hour excursion.
Here’s how to use these photo-stop windows well:
- Decide what you want most: a quick bay look, a dramatic coastline angle, or just a clean photo.
- Keep your stops snappy. You’re not supposed to turn them into long hikes.
- Have water handy anyway, because outdoor viewing can still add up.
Even if you don’t go far, these are exactly the kinds of places that help you “get” Oahu’s geography fast. They’re the kind of views that make the rest of your trip feel more connected.
Sea Life Park and the Koko-to-Hawaii Kai Stretch
The route continues past Sea Life Park Hawaii, then loops back toward areas like Koko Marina Center and Hawaiʻi Kai Towne Center. This is a different side of the island feel: more of that east Oahu coastline vibe, less of the tightly packed Waikiki resort strip.
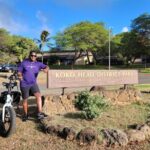
Stops like Lunalilo Home Rd + Anapalau St (near Koko Head Park), plus Koko Head Park itself as a referenced stop, can work well if you want to break up the day with a view-based pause and then keep moving. The pass isn’t claiming a full hike day here; it’s a transport plan that still gives you scenic windows.
Then the route returns toward Waikiki through additional hotel zones and shopping stops, which helps you finish the day without feeling stuck far from your hotel.
Practical Tips to Avoid the Usual Trolley Friction
This type of pass is simple, but simplicity can still trip you up. Here are the real-world factors worth planning around:
1) Save your stop names. The route uses a lot of stop labels and cross streets. I’d screenshot or write down the stop names you care about most so you’re not stuck scanning maps every time.
2) Think “ride time,” not “attraction time.” The pass duration is about 3 hours (approx.), so treat each stop as an efficient checkpoint. If you’re trying to do a long museum visit plus a long beach session, you’ll feel rushed.
3) Bring flexibility for boarding. Some people find it confusing to pinpoint parking and access near high-traffic stops like Royal Hawaiian Center. Give yourself time, and if you’re driving, don’t rely on the first parking option you see.
4) Expect that communication can vary. The route depends on staff and drivers, and on a busy day you may find that not everyone communicates at the same pace. If you’re sensitive to that, keep your route plan visible and ask one clear question at a time.
5) Don’t forget the basics. Sunscreen, water, and comfortable shoes matter because several stops involve walking between curb points and nearby entrances.
Who This Pass Suits Best (and Who Might Skip It)
This pass is a good fit if you:
- Want transportation-first sightseeing instead of car rental planning.
- Are staying in or near Waikiki and want access to downtown and Diamond Head areas without stress.
- Plan to mix short stops, photos, and a couple of bigger decisions (like one museum or one major viewpoint).
It might be less ideal if you’re looking for:
- A deeply guided narrative ride with lots of scheduled explanations.
- Full-day museum coverage where you expect tickets and entry logistics bundled in.
- A “one attraction per stop, guaranteed time inside” style of itinerary.
A helpful middle path is to pick 2–3 “anchor goals” and let the rest be bonus. For example: downtown history (Iolani Palace area), one museum zone (Bishop Museum or HoMA area), and one scenic photo stop (Hanauma Bay or Halona Blowhole).
Should You Book the LeaLea + Waikiki Pink Line Pass?
If you want a practical way to string together Waikiki, Ala Moana, and key Honolulu landmarks for one set price, I’d say yes—especially since this is priced as transportation rather than attractions. With a $35 ticket and a route that touches the areas most people want to see, you’re buying convenience and route coverage.
I’d especially recommend booking if you’re trying to avoid the car and you like hop-on, hop-off freedom. The route includes both classic Waikiki viewpoints and downtown anchors like Bishop Museum and Iolani Palace, plus scenic photo stops out toward the east side.
If you’re the type who hates “not quite enough time” and prefers long, self-contained visits, then you might want a more structured attraction plan instead. But if you’re aiming for variety and smooth movement, this pass does a lot of heavy lifting for you.
FAQ
How much does the LeaLea Trolley and Waikiki Trolley Pink Line pass cost?
It’s $35.00 per person.
How long does the experience take?
The duration is listed as about 3 hours (approx.).
What’s included in the price?
The pass includes only the trolley pass.
Is admission to attractions included?
No. Admission or entrance fees are not included.
What language is the tour offered in?
The experience is offered in English.
What are the operating hours?
It runs Monday through Sunday from 8:00 AM to 5:00 PM.
Where does the route start and end?
The route includes pickups around Royal Hawaiian Center, with multiple loops returning to Royal Hawaiian Center and other Waikiki hubs.
Can I get a refund if my plans change?
Yes. You can cancel up to 24 hours in advance for a full refund.
Is the pass suitable for most visitors?
The information notes that most travelers can participate.