REVIEW · CANOES & KAYAKS
Half-Day Kaneohe Bay Sandbar Self-Guided Kayaking Experience
Book on Viator →Operated by Active Oahu Tours · Bookable on Viator
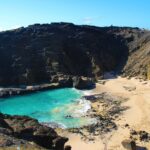
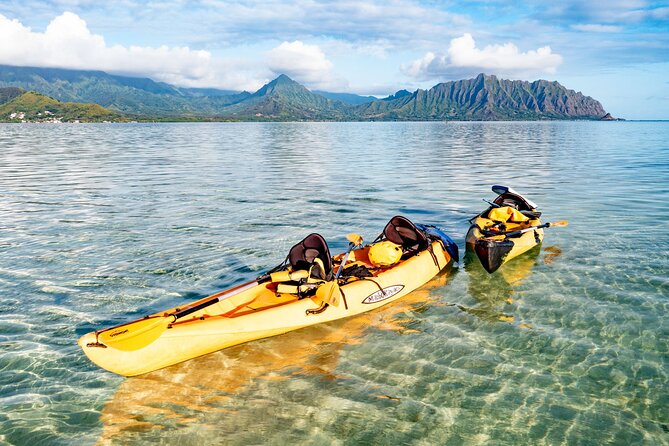
That teal water pulls you in fast. This self-guided half-day kayak trip to Ahu’olaka (the Kaneohe Sandbar) is all about wide-open views, an easy 45-minute paddle out, and the freedom to set your own rhythm. I like that it’s self-guided with included snorkeling gear, so you can linger on your terms. My one real consideration: wind can make the paddle feel more work than you expect, so plan to be comfortable working for your return.
You’re aiming for a sand ridge that shows up during low tide, with the Ko’olau Mountains on one side and the ocean horizon on the other. The experience runs about 4 hours total, keeps the group small (up to 15 people), and uses tandem sit-on-top kayaks for a steady, family-friendly feel—just don’t forget you’re packing your own food since lunch isn’t included.
In This Review
- Key things to know before you go
- Setting off from Kailua: the start point and what it means
- He’eia to the sandbar: timing and the color-change paddle
- Ahu’olaka at low tide: what you’re actually seeing out there
- Once you’re on the sand: anchoring, resting, and planning your return
- Snorkel gear included: how to get the most from the shallow stop
- Wind, maps, and boat condition: the small stuff that can make or break the day
- Price and value: is $96 for a half-day worth it?
- What to bring (and what to skip) for this sandbar paddle
- Who this experience suits best on Oahu
- Should you book the Half-Day Kaneohe Bay Sandbar self-guided kayak?
- FAQ
- How long does the self-guided kayaking experience take?
- Where does the experience start?
- How far is the paddle to the sandbar?
- What’s included in the package?
- Is lunch included?
- What kind of kayaking gear will I use?
- What’s the fitness level required?
- What language is the experience offered in?
- What happens if weather is bad?
Key things to know before you go
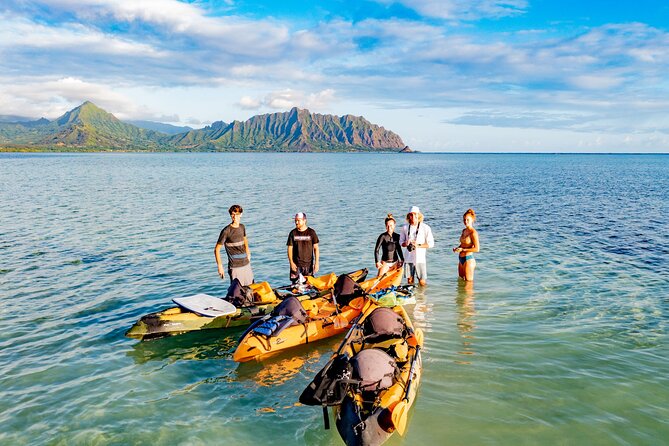
- Ahu’olaka is low-tide dependent: the sandbar you’re picturing is only visible when conditions expose it.
- About 45 minutes each way by paddle: the pace is manageable for most people with moderate fitness.
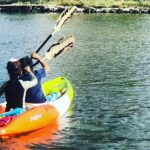
- Tandem sit-on-top kayaks: easier stability for couples, friends, and families than narrow sit-inside boats.
- Snorkel fins and gear are included: you can plan a water break without hunting down rentals.
- You get an anchor plus a dry bag: useful if you want to stop, float, or keep valuables dry.
- Expect some wind and some distance: plan on returning with effort, especially if the breeze turns on you.
Setting off from Kailua: the start point and what it means
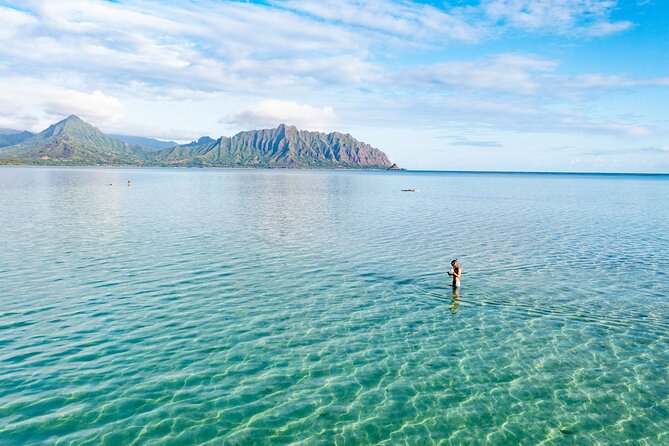
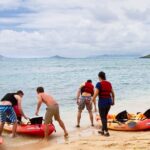
Your adventure begins at 134b Hamakua Dr, Kailua, HI 96734, and ends back at the same meeting area. This matters more than it sounds: you’re not just paddling. You’re also coordinating a half-day where the “sandbar part” is only one piece of the time.
This is a self-guided experience, so you’ll get what you need to make choices after launch. The value here is real. A guided trip can be great, but it also means you follow someone else’s timing. With a self-guided setup, you can slow down for the changing water, take a longer pause when you spot activity, and head back when you feel ready.
Also, keep your expectations realistic. The meeting point is described as near public transportation, which can help if you’re moving around Oahu without a car. Still, this is an active water day, so you’ll want to build in buffer time for getting geared up and ready.
You can also read our reviews of more guided tours in Oahu

He’eia to the sandbar: timing and the color-change paddle
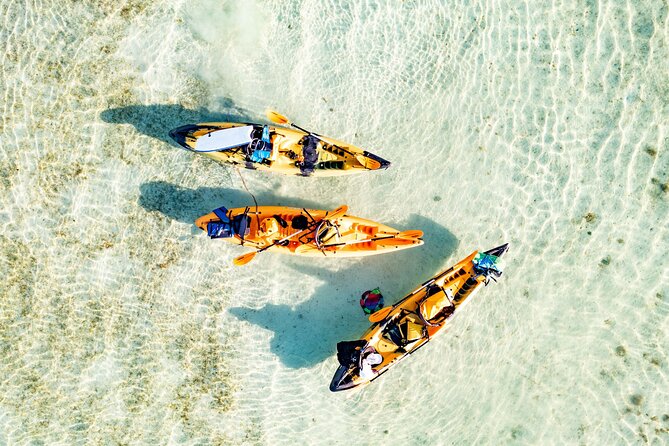
The paddle from He’eia Kea Boat Harbor to the Kaneohe Sandbar takes about 45 minutes. That’s long enough for the trip to feel like a true outing, not a quick hop. It’s also short enough that most people with moderate fitness can handle it with steady effort and good teamwork.
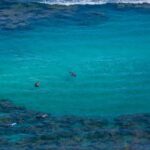
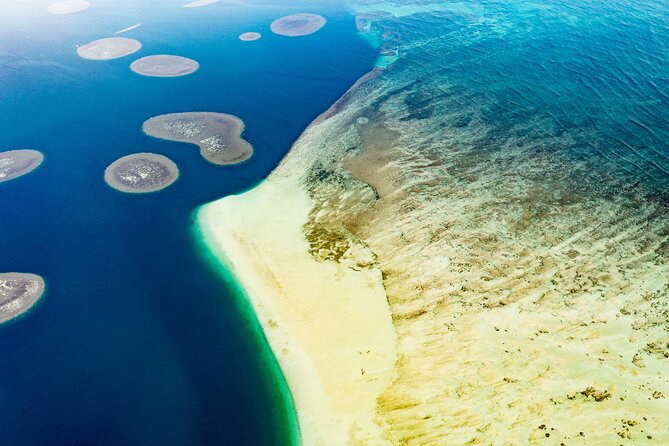
One of the best parts is the water itself. Expect a deep teal at first, then a visible gradient as you get closer to the bar. That color shift is more than pretty. It’s your visual clue that you’re approaching shallow, sandy areas where visibility and snorkeling chances tend to improve.
Because this is self-guided, you’ll be relying on the instructions you receive plus your own awareness. If you like being prepared, I’d treat this like a mini expedition: bring your phone in the dry bag (if instructed), keep an eye on the shoreline cues you’re given, and don’t assume conditions will stay perfectly calm.
Ahu’olaka at low tide: what you’re actually seeing out there
Ahu’olaka—also called the Kaneohe Sandbar—is on Oahu’s Windward side on the east coast. The big idea: the sandbar is a wide ridge that becomes visible during low tide. When it’s out, it’s dramatic. The bar is about 1 mile (1.6 km) wide and 3 miles (4.8 km) long.
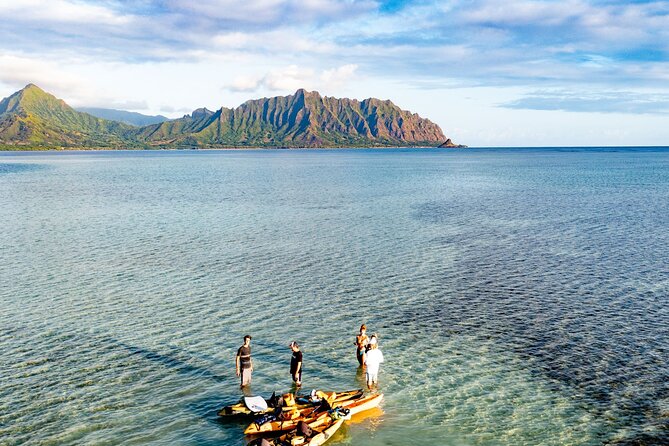
What makes this special is the contrast. You’ll see the Ko’olau Mountains in one direction and an open ocean horizon in the other. That “either mountains or sea” feeling makes it hard to feel crowded. Even though you’re not going somewhere remote in the wilderness sense, the view reads big and open.
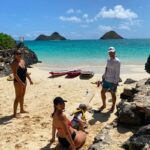
Once you reach the exposed sand, you can choose how to use the time. Some people want quiet floating. Some want to anchor and snorkel in a focused window. The nice part of having an anchor included is that you’re not forced to keep paddling in tiny circles just to stay in one spot.
Once you’re on the sand: anchoring, resting, and planning your return
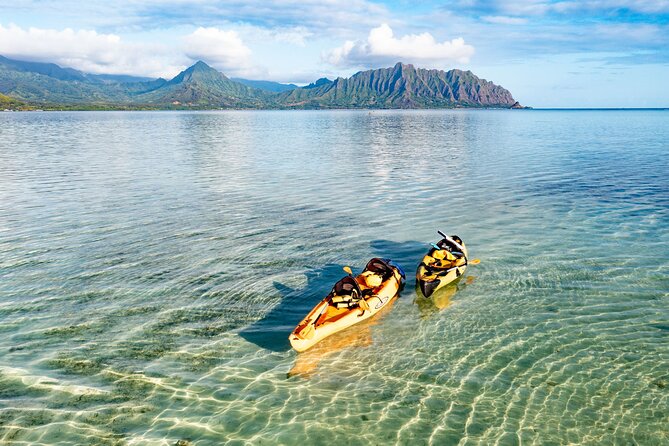
This is where self-guided shines. You don’t have to race a schedule. You can settle in, snack, and pick your next step based on wind and your comfort level.
Here’s what to consider before you commit to staying put:
- Wind direction affects effort on the way back. If the breeze feels like it’s pushing you, remember the return paddle may be harder.
- Time can pass faster than you think. The sandbar looks inviting, and snorkeling opportunities can tempt you to linger.
- Anchor use should be deliberate. Once anchored, stay mindful of where you’re positioned relative to other paddlers and shallow areas.
One practical note drawn from real-world experiences: distance from the marina to the water can feel more noticeable than you expect on a half-day. Some kayakers found the process farther out than they assumed. If you’re optimizing your day, plan to stay flexible and don’t treat the start-to-launch transition like a 2-minute affair.
Snorkel gear included: how to get the most from the shallow stop
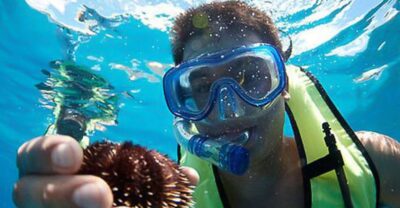
The package includes snorkel and fins, so you can do a real snorkeling break without extra rental steps. That’s a big value point because snorkeling gear is one of those add-ons that quietly increases the total cost of many Oahu activities.
You’ll also appreciate that you have a dry bag. If you bring snacks, sunscreen, or a change of dry items, you’re less stressed about the inevitable dampness that comes with any ocean outing. It also helps you keep your phone and essentials protected so you can focus on the water instead of managing gear anxiety.
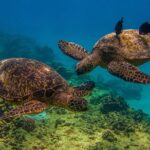
What you’re likely looking for is a mix of shallow visibility and calm moments near the sandbar. If you spot wildlife, treat it respectfully—stay steady, don’t chase, and keep your movements slow so you don’t stir up the water.
You can also read our reviews of more tours and experiences in Oahu

Wind, maps, and boat condition: the small stuff that can make or break the day
This is a “smooth if prepared” kind of activity. The ocean can change quickly, and wind is the big variable.
A few practical lessons that matter:
- Bring a wind-ready mindset. Even if the launch is calm, the return can feel more intense. If you’re not used to paddling against a breeze, keep your pace efficient from the start.
- Use a backup navigation plan. Some people reported that maps didn’t match what they were seeing. You can reduce stress by using your phone’s navigation alongside whatever directions you’re given.
- Do a quick gear check before you launch. One account mentioned a boat that looked a bit worn. I’d personally take 30 seconds to confirm everything feels solid—seat position, paddle fit, and that your anchor setup is ready to go.
These aren’t deal-breakers. They’re just the kind of real-world details that help you have a calmer day, faster.
Price and value: is $96 for a half-day worth it?
At $96 per person for an approximately 4-hour self-guided experience, the real question is value per hour and per hassle level.
Here’s what you get:
- Life vest
- Tandem sit-on-top kayak
- Dry bag
- Snorkel gear and fins
- Kayak anchor
Those inclusions matter because you’re not paying extra for the core water and snorkeling components. Plus, the self-guided format often saves time and keeps you from feeling rushed. You’re paying for independence, gear readiness, and a specific destination that can feel picture-perfect when timing lines up with low tide.
On the other hand, lunch isn’t included, and you’ll need to plan for snacks and drinks. If you show up hungry, the day can feel longer and more expensive than it needs to be. So your best value move is simple: bring what you need for a calm break and you’ll stretch the experience further.
One more value note: this typically gets booked about 13 days in advance on average. If your dates are fixed, I wouldn’t wait until the last minute.
What to bring (and what to skip) for this sandbar paddle
Since lunch isn’t included, pack like you’re doing a half-day beach outing plus effort time.
Bring:
- Your own beverages and snacks
- Sunscreen (you’ll be on bright water and sand)
- Protective clothing you’re comfortable paddling in (light layers can help)
- Anything you want for a relaxed stop at the sandbar
Also, treat the dry bag as your protection zone. Keep sunscreen and snacks accessible, but stash electronics and essentials where water can’t soak them.
A small but important habit: start with a sunscreen-heavy approach. People specifically warn that you’ll want plenty on board. This is easy to forget when the water starts cool and the views distract you.
Who this experience suits best on Oahu
This is a strong fit if you want:
- A family-friendly, manageable water outing
- A destination with big visuals: Ko’olau Mountains + ocean horizon
- A half-day plan with gear handled for you
- The freedom to set your own snorkeling and resting time
It also fits couples and friends because tandem kayaks make it feel like a team activity instead of a solo challenge.
Who should think twice:
- You’re not comfortable paddling with some wind and effort, especially for the return.
- You’re expecting a quick “beach access” trip with no logistics beyond parking. One concern from real use is that distance and the run from the marina/water prep can take more out of your time than you’d like.
Fitness-wise, the experience calls for moderate physical fitness, which is a good sign that it isn’t pitched as a beginner-free-for-all, but it also doesn’t read as hardcore training.
Should you book the Half-Day Kaneohe Bay Sandbar self-guided kayak?
I’d book this if you want a half-day that feels like more than a photo stop: a real paddle out, a low-tide sandbar, and a place to snorkel without adding extra rental steps. The included life vest, kayak, dry bag, snorkeling gear, and anchor make the day feel complete, and the group size stays small.
Skip or reconsider if you hate paddling with wind, you’re very sensitive to timing, or you’re counting on lunch being provided. This is one of those activities where your comfort is tied to your prep: sunscreen, snacks, and a calm plan for the return matter.
If your dates line up with good weather and you’re comfortable with moderate effort, this is a smart value way to experience one of Oahu’s most iconic sandbar scenes.
FAQ
How long does the self-guided kayaking experience take?
It’s about 4 hours on average.
Where does the experience start?
The meeting point is 134b Hamakua Dr, Kailua, HI 96734, USA, and it ends back at the same location.
How far is the paddle to the sandbar?
The paddle from He’eia Kea Boat Harbor to the Kaneohe Sandbar takes about 45 minutes.
What’s included in the package?
Life vest, dry bag, tandem sit-on-top kayak, snorkel and fins, and a kayak anchor are included.
Is lunch included?
No, lunch is not included, so you’ll want to bring snacks and beverages.
What kind of kayaking gear will I use?
You’ll use a tandem sit-on-top kayak.
What’s the fitness level required?
The experience requires travelers to have a moderate physical fitness level.
What language is the experience offered in?
The experience is offered in English.
What happens if weather is bad?
The experience requires good weather. If it’s canceled due to poor weather, you’ll be offered a different date or a full refund.