REVIEW · CANOES & KAYAKS
Semi-Private Stand Up Paddle Lesson with Waikiki Courtesy Shuttle
Book on Viator →Operated by Ohana Surf Project · Bookable on Viator
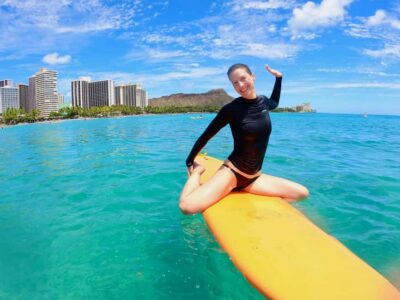
Waikiki on a board feels surprisingly doable. This semi-private stand-up paddle lesson keeps the focus on safe progress and quick coaching, and the courtesy shuttle makes it easy to get from your hotel to the water. You’ll get individualized attention with a small group size, so you’re not guessing what to do next.
What I like most is how much is handled for you: the board, paddle, reef shoes, and rash guard are all provided, plus there’s a secure place to store your stuff. The other win is the 1 instructor for 2 students setup, which helps you move at your pace without feeling left behind. One drawback to plan around: you must be able to swim, and if you can’t, you may need a private lesson.
In This Review
- Key Highlights You’ll Care About
- Getting There: The Yellow Surf School Bus and Easy Waikiki Pickup
- Ohana Surf Center Check-In: Where the Lesson Actually Starts
- What’s Included in Your Paddle Setup (and Why It Matters)
- How Semi-Private Coaching Feels on the Water
- The Step-by-Step Lesson Flow in Waikiki
- Photos and Videos: Fun Keepsake, Extra Cost
- Price and Value: Why $129 Can Make Sense Here
- Who This Lesson Fits Best (and Who Might Want Alternatives)
- My Booking Advice: Should You Book This Waikiki Paddle Lesson?
- FAQ
- How long is the stand-up paddle lesson?
- Is equipment included?
- Do they offer pickup and transport in Waikiki?
- Where is the start meeting point?
- Do I need to know how to swim?
- Can I cancel for a full refund?
Key Highlights You’ll Care About
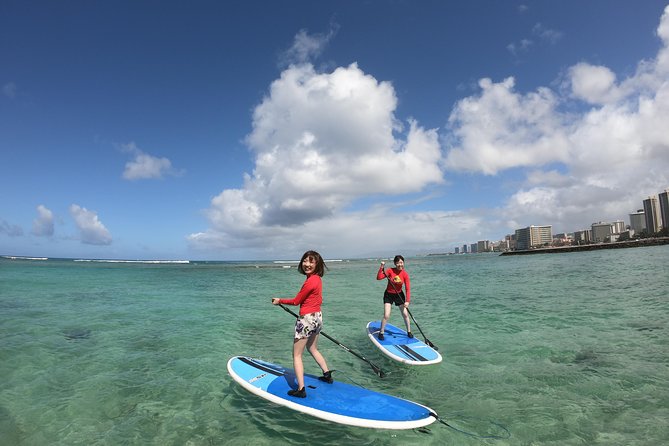
- Two students per instructor for real-time feedback, not just a group talk
- Included reef shoes and rash guard so you can skip the gear run-around
- Courtesy shuttle from select Waikiki locations to reduce logistics stress
- Ohana Surf Center at Waikiki Beach Marriott as a clear, easy meeting base
- On-water setup that starts with leashing up and walking boards to the beach
- Photos and videos are optional (nice add-on, but not included)
Getting There: The Yellow Surf School Bus and Easy Waikiki Pickup
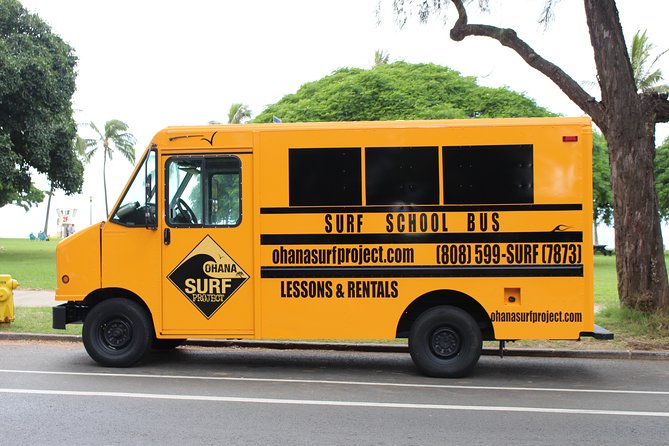
The first thing you’ll notice is how little effort this takes once you’re in Waikiki. You’re picked up from designated hotel meeting spots, then shuttled in an air-conditioned vehicle with clear Surf School branding. If you like travel plans that reduce decisions, this part delivers.
The ride goes from your Waikiki pickup point to the Ohana Surf Center, which is located inside the Waikiki Beach Marriott. That’s a big deal because you’re not trying to find a random storefront right before you’re wet and excited. It also means you can check in, get geared up, and then transition to the beach without scrambling.
If you don’t get your exact pickup location and time by email at least 24 hours before your lesson, you should contact the supplier. This tour is built around timing, so that message matters more than it sounds.
You can also read our reviews of more private tours in Oahu

Ohana Surf Center Check-In: Where the Lesson Actually Starts
Once you arrive at the center, the flow is straightforward. You’ll check in, get fitted with your equipment, and then you’ll be shuttled to the beach for the actual paddling portion. Think of this as your calm “warm-up phase” where you sort gear, ask questions, and get the basics lined up.
There’s a safe place to store your belongings, which is one of those practical comforts that you don’t fully appreciate until you’re standing there with your phone, keys, and towel. You’ll want to bring the basics: a towel and sunscreen already applied. The tour also asks you to come in your bathing suit, which keeps your pre-water time tight.
If you have any medical conditions or injuries, you should tell the staff ahead of time. That’s not “paperwork”; it’s how they help make sure the instruction fits your needs. And if you’re prone to seasickness, they recommend taking a remedy you already use about an hour before the lesson. If you’re unsure what’s appropriate, talk to your doctor first.
What’s Included in Your Paddle Setup (and Why It Matters)
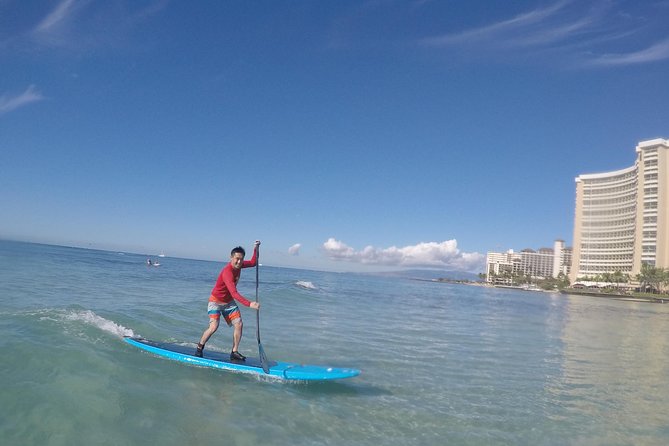
This lesson includes the gear that can make or break your experience—especially in Waikiki, where you’re dealing with ocean conditions right away. You get:
- Stand-up paddleboard
- Paddle
- Rash guard
- Reef shoes
All the fees and taxes are included in the price, and you don’t need to figure out rentals, deposits, or sizing logistics on your own. That’s real value. When the important equipment is included, you spend your time learning instead of negotiating with a rental desk.
The rash guard also helps with comfort. Even if the water isn’t cold, you’ll likely spend time balancing and moving around, and a rash guard cuts down on friction and sun exposure. Reef shoes matter too because you’re walking and gearing up for the ocean, and your feet will thank you.
How Semi-Private Coaching Feels on the Water
This is a ratio of 1 instructor for 2 participants, which changes the entire vibe. In a bigger group lesson, you often get a lot of generic instruction and a few seconds of correction. Here, your instructor can watch what you’re doing and adjust what you’re trying next.
Before you head out, you’ll talk with your instructor about:
- your previous experience
- your swimming strength
- any concerns or conditions you want them to know about
That pre-check matters because stand-up paddleboarding is as much about comfort and safety as it is about technique. If you’re nervous, you want someone to pace your learning so you don’t feel pressured to stand before you’re ready.
You’ll also get hands-on guidance as you practice. One thing that comes through strongly from past participants is how encouraging the instructors can be. For example, one instructor named Miguel stood out for being supportive, especially for students who weren’t sure they’d be able to stand right away. Another standout theme is patience and a friendly, easy style—helpful when your balance is still a work in progress.
The Step-by-Step Lesson Flow in Waikiki
After gear check-in and ocean readiness, the lesson follows a clear sequence.
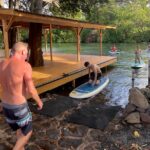
First, you’ll walk your lesson boards to the water. That walk is part of the process: it gets you handling the equipment before you’re floating. Then you’ll be instructed to leash yourselves to the board and head into the water together.
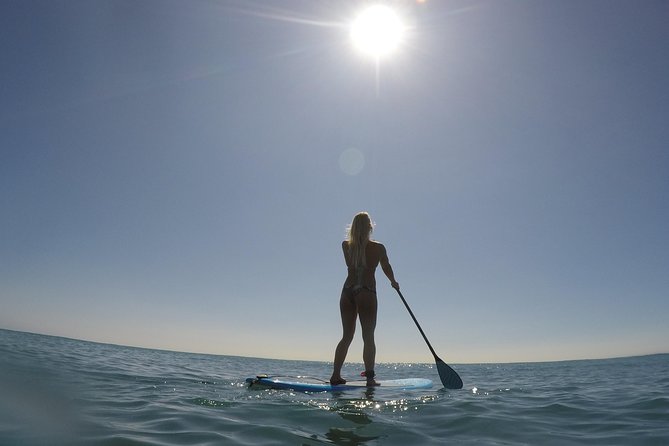
Next comes your instruction phase. You’ll start learning in a safe way, guided by your instructor’s pacing. You’ll work on the fundamentals—stability, posture, and how to use your paddle effectively—before you push for that bigger goal: standing (at least for short moments at first).
A useful mindset for you: if you’re not an athletic person, set your expectations to progress, not perfection. Many beginners don’t stand the whole time at first, but they can still enjoy the ride while learning. Even if you only get “try a stand” moments, that still counts as momentum. Your instructor will steer you toward what’s achievable today.
Finally, after the session, you head back to the Ohana Surf Center to review photos and videos and (if you want) shop for a souvenir. Then you’ll be transported back to a convenient drop-off location in Waikiki. The whole experience is built to keep the ocean time meaningful, without turning the day into a half-day travel marathon.
You can also read our reviews of more tours and experiences in Oahu
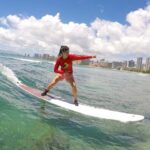
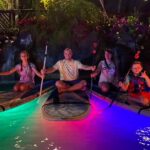
Photos and Videos: Fun Keepsake, Extra Cost
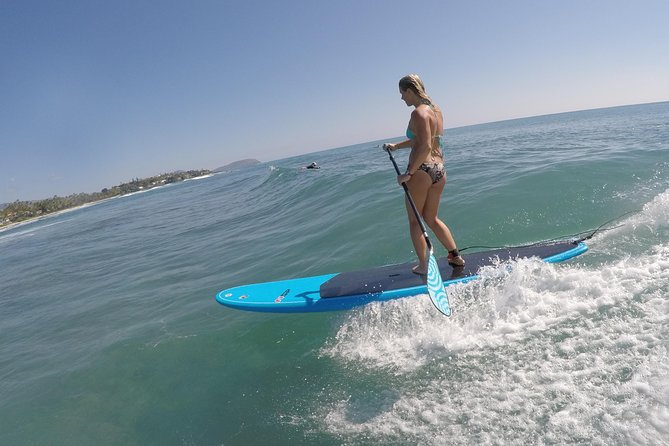
Here’s the trade-off: you can view photos and videos after the lesson, but they’re available for purchase. That’s not unusual, but it’s still worth planning for because it’s the one optional expense.
If you love having proof that you tried something new, it can be worth it. If you’d rather save cash, you can simply enjoy the session and skip the souvenir add-ons. Either way, the center gives you a tidy place to cool down and sort yourself out after you’re done paddling.
Also, having the photos and videos available right after your lesson can help you connect what the instructor told you with what you actually did. That feedback loop is handy if you plan to paddle again.
Price and Value: Why $129 Can Make Sense Here
At $129 for about two hours, you’re paying for more than a board. You’re paying for four major pieces of value that are hard to replicate on your own:
- Transportation to and from select Waikiki meeting points
- Equipment included (board, paddle, rash guard, reef shoes)
- Professional instruction with a small 1:2 instructor ratio
- On-site structure at a known location (Ohana Surf Center)
When you add up rentals plus getting to a launch location plus time with an instructor, the math usually gets worse for DIY attempts—especially if you’re new. This lesson is also designed around safety and coaching, which is exactly what you want when you’re learning balance and technique.
Could you find cheaper paddleboard rentals? Yes, but you’re comparing “free-float time” against guided practice. If you want to actually improve, this is the better deal.
Who This Lesson Fits Best (and Who Might Want Alternatives)
This lesson works best if you:
- can swim (required)
- want a safe, structured way to learn
- appreciate a smaller group where you get attention
- don’t want to manage gear rentals and meeting logistics alone
There’s also a clear age minimum: participants must be 13 or older. If anyone in your group can’t swim, you should advise the staff ahead of time because a private lesson may be required.
If you’re someone who gets nervous in open water, you’ll likely appreciate the coaching and the safety-first setup—leashing up, guided practice, and a smaller group. If you’re someone who’s really hoping to stand for the full session right away, set expectations more carefully: you’ll likely earn that skill in stages.
Also note the group size limits from the tour info: there’s a maximum of 2 travelers, and there’s a 2 participant minimum required to book. That small scale is part of what keeps this lesson feeling genuinely semi-private.
My Booking Advice: Should You Book This Waikiki Paddle Lesson?
If you want a beginner-friendly first paddle in Waikiki, I’d say book it—especially for the instruction ratio, included gear, and the fact that transport from your hotel is handled. This is the kind of activity that’s easy to overcomplicate on your own, and this format removes the friction.
Book it if you’re okay with learning at your pace and you can swim. If you can’t swim, or you need specialized support due to medical concerns, contact the staff first so they can advise the right lesson format.
Finally, keep your mindset simple: you’re here to learn balance, paddle control, and water confidence. If you come with that attitude, the experience can be fun even when standing takes a little longer than you hoped.
FAQ
How long is the stand-up paddle lesson?
It’s listed as about 2 hours.
Is equipment included?
Yes. You get the stand-up paddleboard, paddle, reef shoes, and a rash guard.
Do they offer pickup and transport in Waikiki?
Yes. There’s a complimentary courtesy shuttle from select Waikiki meeting spots. You’ll receive the exact pickup location and time by email.
Where is the start meeting point?
The meeting point is listed as 2552 Kalākaua Ave, Honolulu, HI 96815, USA.
Do I need to know how to swim?
The info says all participants must be able to swim. If someone cannot swim, you should advise the staff ahead of time since a private lesson may be required.
Can I cancel for a full refund?
Yes. You can cancel up to 24 hours in advance for a full refund. Canceling within 24 hours does not include a refund.