REVIEW · CANOES & KAYAKS
Rainforest River Kayak Self-Guided Kayak Tour
Book on Viator →Operated by Active Oahu Tours · Bookable on Viator
You can trade traffic for jungle paddle time. This self-guided kayak tour takes you through a calm stretch near Kahana Bay with scenic Oahu coast and mountain views, and it’s beginner-friendly with the gear you need. The main drawback: the “rainforest river” feeling depends a lot on how you paddle within the estuary area, so expect some sections to feel more canal-like than pure wilderness.
I love that you set the rhythm. No crowd pacing, no tour script—just you, a kayak, and time to drift, stop, and look. The included life vests and basic setup help you get moving fast, and a drybag option lets you bring only what you’ll need.
One more thing to plan for: you’ll want to be comfortable with simple carry/portage steps as part of the route. If you hate any stepping onto sand or moving a kayak short distances, this won’t be the smooth “sit back and glide” outing you might expect.
In This Review
- Key things to know before you paddle
- From Kailua to Kahana Bay: how the 4-hour day really flows
- Kahana Valley: rainforest feel vs. estuary reality
- Calm water pacing: what you’ll feel while you paddle
- The scenery: coast views, mountain sightlines, and photo angles
- Equipment and comfort: what’s included, what to bring, and what to watch
- Itinerary in practice: what happens between launch and return
- Who this tour suits best (and who might rethink it)
- Price and value: is $82 per person worth it?
- Weather, timing, and how to make it feel effortless
- Should you book this self-guided rainforest river kayak tour?
- FAQ
- Where does the tour start?
- How long is the kayak tour?
- How much does it cost?
- Is this tour good for beginners?
- What kayaking equipment is provided?
- What should I wear or bring?
- How do I get the kayak to the water?
- How far is Kahana Bay from the meeting point?
- Can I get a full refund if I cancel?
Key things to know before you paddle
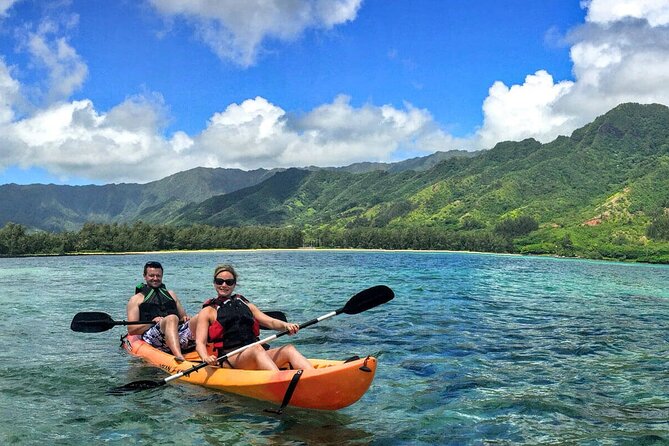
- Self-guided pacing: you control stops and turns, even if you’re new to kayaking
- Kahana Bay start point in a scenic area: you launch from the Kahana side after a vehicle transfer
- Calm water and beginner support: foam pads, straps, and life vests are included
- Rainforest vibes depend on the route you choose: aiming toward the more secluded area can change the feel
- Expect light logistics: you may need to move your kayak about 1 mile or use an across-street launch option
- Bring essentials, keep valuables dry: sunscreen, swimsuit, and use of the provided drybag help a lot
From Kailua to Kahana Bay: how the 4-hour day really flows
The tour starts at 134b Hamakua Dr, Kailua, HI 96734, and you end back there. The whole experience runs about 4 hours, which is a solid length for a self-guided paddle on Oahu—long enough to feel like you actually did something, but not so long that you’ll be exhausted or rushing.
You’ll want to arrive 15 minutes early. That extra time matters because you’ll be getting a kayak moved into position and set up. A 4-door vehicle is used to transport the kayak to Kahana Bay, which is about 40 minutes away from Kailua.
The reason this setup is worth mentioning: it reduces the “where do I even start?” stress. Once you’re on the water, the rest is on you. You’re not waiting around for a group to finish a tutorial while the weather changes.
You can also read our reviews of more guided tours in Oahu


Kahana Valley: rainforest feel vs. estuary reality
Here’s the honest part: Kahana “river” is better described as an estuary fed by fresh water streams. That doesn’t ruin the experience—it just explains why the water can look and behave a little differently than you might expect from the word river.
What you’ll likely notice right away is the mix of green water and living shoreline. One paddler described sections that went through a canal alongside back yards before reaching a small ocean connection. That can happen depending on how you paddle inside the system and how far you push along the route.
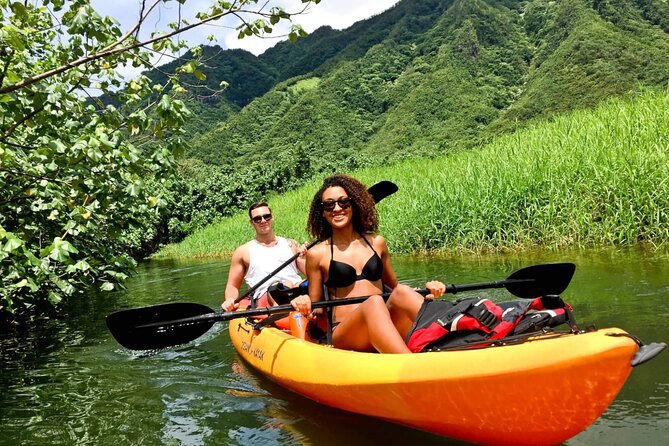
I also like that there’s a more secluded option. In fact, the staff explanation you’ll hear is that if you paddle up into the valley toward the rope swings on the right, you’re more likely to get the jungle-and-mountain feel: more green cover, fewer house views, and better scenery.
So think of this tour as two experiences in one:
- a calmer, more built-edge paddle if you stay on the easier path
- a more “rainforest” vibe if you aim for the more secluded area
If your top priority is pure wilderness, you’ll be happiest when you actively follow the direction that leads toward the less busy stretch rather than assuming the first part will automatically feel like a remote jungle trail.
Calm water pacing: what you’ll feel while you paddle
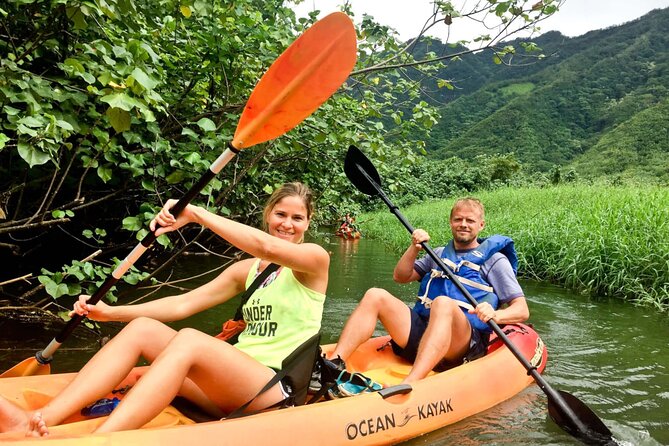
The water is described as calm, and that’s a big deal. On a day where the goal is relaxing (not grinding your arms off), calm water helps you spend your effort on sightseeing and steering instead of constantly correcting for chop.
Because it’s self-guided, you can pace in a way that fits your body and your attention span. Want a slower glide for photos? Do it. Want a quicker pass to see more? You can. This is especially nice for beginners who might want a learning curve without feeling rushed.
Also, the kayak setup is designed to be straightforward. The gear includes what you need for stability and safety (life vests), plus carrying aids like foam pads and straps. That means you’ll spend less time figuring things out and more time actually paddling.
The scenery: coast views, mountain sightlines, and photo angles
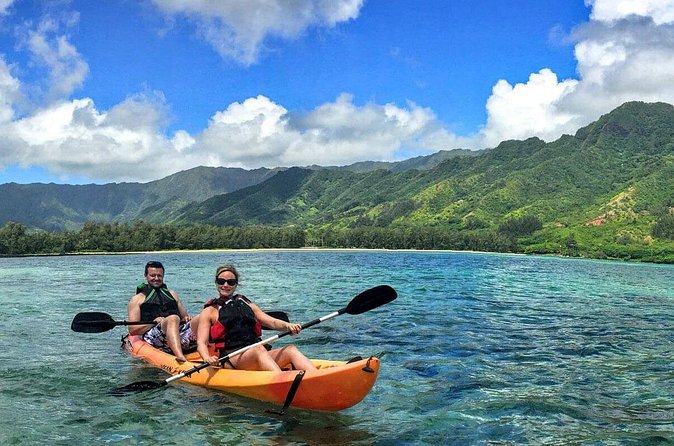
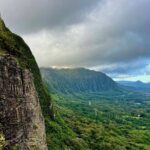
The headline promise is scenery: Oahu coast and mountains visible while you paddle, plus a lot of green. Even if your route includes more canal-like edges, you’re still in a part of Oahu that feels naturally “in-between”—not a crowded beach strip, but not a remote expedition either.
One of the strongest visual payoff moments is getting out where the water opens up. The staff notes that when you head toward the bay, you can aim for panorama views—especially once you’re in the middle of Kahana Bay.
There’s also a specific historic detail you can look for if you’re paying attention while you paddle out: an ancient Hawaiian fish pond built with professionally stacked rocks sits nearby on the right. I can’t guarantee the exact angle you’ll see from your seat, but if you keep an eye out for stacked-rock edges while you move into the bay-facing stretch, it’s the kind of feature that makes the trip feel more meaningful than just a workout.
If you want photos that show both “green” and “ocean,” the trick is to keep a little space between yourself and the shoreline where possible. It’s easiest to frame when you’re not pressed right up against a bank. Slow down briefly when the mountains start filling your view—those are the moments your camera will thank you for.
Equipment and comfort: what’s included, what to bring, and what to watch
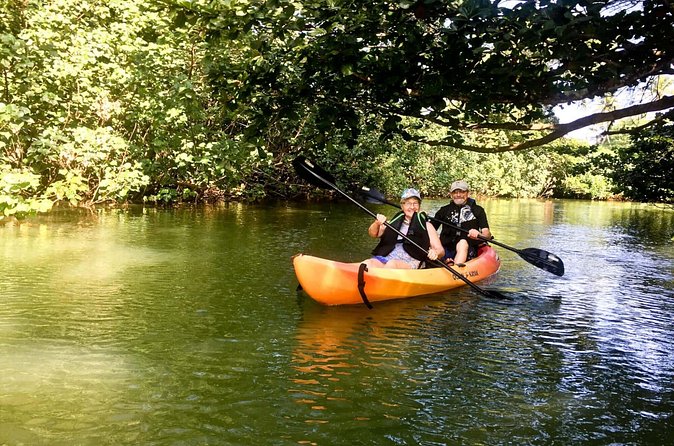
The tour provides all necessary kayaking equipment, including life vests. That’s the minimum you want in a self-guided setup: you shouldn’t have to worry about safety gear or hunt down rentals.
You’ll also get a drybag as part of the self-guided experience. That matters because the main advice is simple: leave valuables at home if you can, or use the drybag so your phone, wallet, and keys don’t become part of your paddling plan.
Packing for comfort:
- Wear a swimsuit
- Apply sunscreen
- Bring or plan for basic hydration (the tour data doesn’t mention water, so you’ll want to decide based on your own needs)
One more practical note: you’re told to either use a vehicle to transport the kayak about 1 mile or launch across the street and paddle through the bay to the river. That means you should arrive prepared to move equipment at least a little. If you don’t have a vehicle handy, the across-street option may fit better—but you should be ready for the extra paddling from that starting method.
The included foam pads and straps help you portage safely. They’re there because people still need to physically handle kayaks in the transition areas. In other words, this isn’t a “kayak appears under you by magic” tour. It’s close, just not totally hands-free.
You can also read our reviews of more tours and experiences in Oahu




Itinerary in practice: what happens between launch and return
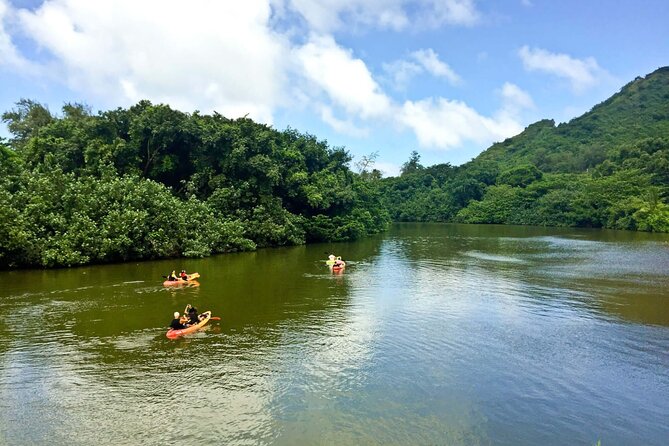
Even though this is self-guided, the day has a clear rhythm.
First, you meet at Hamakua Dr in Kailua and get your equipment set up. Then the kayak gets transported to Kahana Bay by vehicle. After that, you launch and start paddling.
While you’re out, you’ll move through the estuary system toward either:
- the more direct sections that may feel more canal-adjacent, and/or
- the more secluded valley area if you paddle the route toward the rope-swing side
Then, you’ll work your way back to your launch point and return to the meeting area in Kailua.
One paddler described a moment where you either porter over a beach or steer back to the canal to return. That tells me the route can involve at least one transition point that isn’t just open-water paddling. If you’re new, don’t treat that as a surprise—you’ll feel better if you mentally plan for a small stop-and-handle moment instead of assuming the return path will be identical to the outbound path.
Who this tour suits best (and who might rethink it)
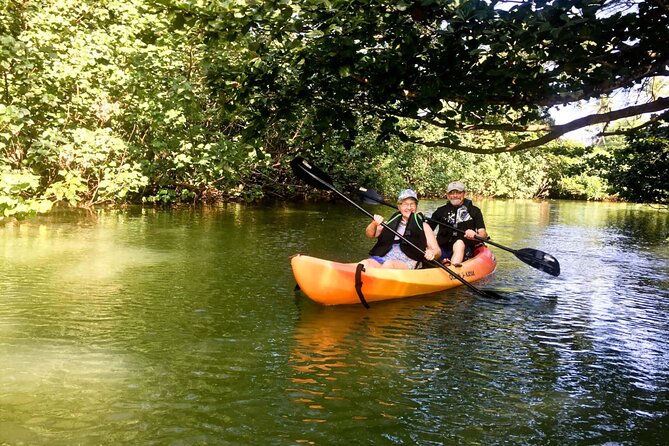
This outing is described as suitable for all levels of kayaking, including beginners, and it’s framed as relaxing and beautiful with easy-to-learn instructions. That’s the big selling point if you’ve never paddled before but want to try something scenic without signing up for an intense workout.
It’s also noted that you should have a moderate physical fitness level. “Moderate” here reads like: you should be able to handle short carries/portage transitions, sit comfortably for a few hours, and paddle at a steady effort without needing to stop every few minutes.
If any of this is a hard no for you, think carefully:
- You dislike any moving equipment or stepping through transition spots
- You need a fully guided, step-by-step tour on the water at all times
- You expect the entire experience to be untouched wilderness with no shoreline contact
Price and value: is $82 per person worth it?
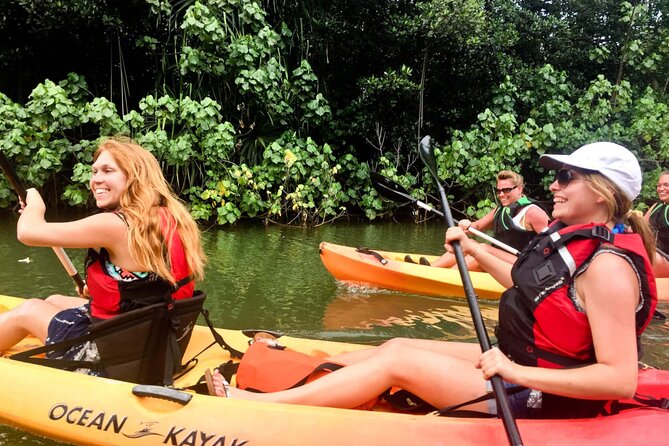
At $82 per person, the value comes from a few things working together:
- You get the equipment (not just advice)
- You get safety gear like life vests
- You get control of pace because it’s self-guided
- You get a scenic Oahu setting that’s described as exclusive, with coast-and-mountain views
Where the price can feel “not worth it” is when expectations don’t match the reality of an estuary route. If you picture a single perfect “river” with dense jungle walls the entire way, you might walk away disappointed—especially if you didn’t paddle toward the more secluded area. On the other hand, if you treat it like an explore-at-your-pace water route—with some green jungle views and some shoreline transition—then the cost makes a lot more sense.
In plain terms: $82 is a fair buy for a self-guided kayak day when you lean into the scenery and use the directions on how to paddle toward the less busy stretch.
Weather, timing, and how to make it feel effortless
You’ll want to plan around sun and your own comfort level. This tour guidance emphasizes sunscreen and swimsuits, which is typical for Oahu paddling but also a reminder: you’ll be exposed while you’re waiting, setting up, and paddling.
Because it’s calm water, you don’t need to prepare for rough conditions being part of the challenge. Your main “weather problem” is sun and drying off afterward.
Timing-wise, arriving 15 minutes early is not just “nice.” It keeps you from feeling rushed during setup, and it gives you enough margin to do the kayak transport steps without stress.
Should you book this self-guided rainforest river kayak tour?
I’d book it if you want:
- a beginner-friendly kayak outing
- time to paddle at your own pace
- strong scenery payoff from Kahana Bay and the green water setting
- a self-guided adventure where you can choose how far to go toward the more secluded valley area
I’d pause before booking if you:
- hate any carrying/portage steps
- need a strictly guided experience that never leaves you making route decisions
- expect the entire route to feel like remote jungle with no shoreline contact
If you do book, here’s the best decision you can make: paddle with intention. Aim toward the more secluded area (the side toward the rope swings) if you want the “rainforest” vibe, and don’t be surprised if the first stretches look more like a living shoreline estuary before the bay opens up.
FAQ
Where does the tour start?
The tour starts at 134b Hamakua Dr, Kailua, HI 96734, USA, and it ends back at the same meeting point.
How long is the kayak tour?
The tour is about 4 hours.
How much does it cost?
It costs $82.00 per person.
Is this tour good for beginners?
Yes. It’s suitable for all levels of kayaking experience, including beginners, with easy-to-understand instructions for setup.
What kayaking equipment is provided?
You get life vests and all other kayak equipment needed for the self-guided experience, plus foam pads and straps to help transport the kayaks.
What should I wear or bring?
Wear a swimsuit and apply sunscreen. The tour also advises leaving valuables at home or using a drybag provided with the experience.
How do I get the kayak to the water?
You may need to be prepared with a vehicle to transport the kayak about 1 mile, or you can launch across the street and paddle through the bay to the river.
How far is Kahana Bay from the meeting point?
Kahana Bay is about 40 minutes away by vehicle.
Can I get a full refund if I cancel?
Yes. You can cancel up to 24 hours in advance for a full refund.
If you’d like, tell me your kayaking comfort level and whether you’re traveling with kids or just adults, and I’ll help you decide how ambitious to be on the route you paddle.